How to Host Your HTML Site for Free with Netlify and Add a Custom Domain
Netlify offers a quick solution with its robust platform and smart CDNs for better performance and security. This guide shows you how to set up your HTML webiste to Netlify. Once configured, Netlify automatically handles all publishing—you can simply drag and drop your static files onto Netlify .
Getting Started on Netlify
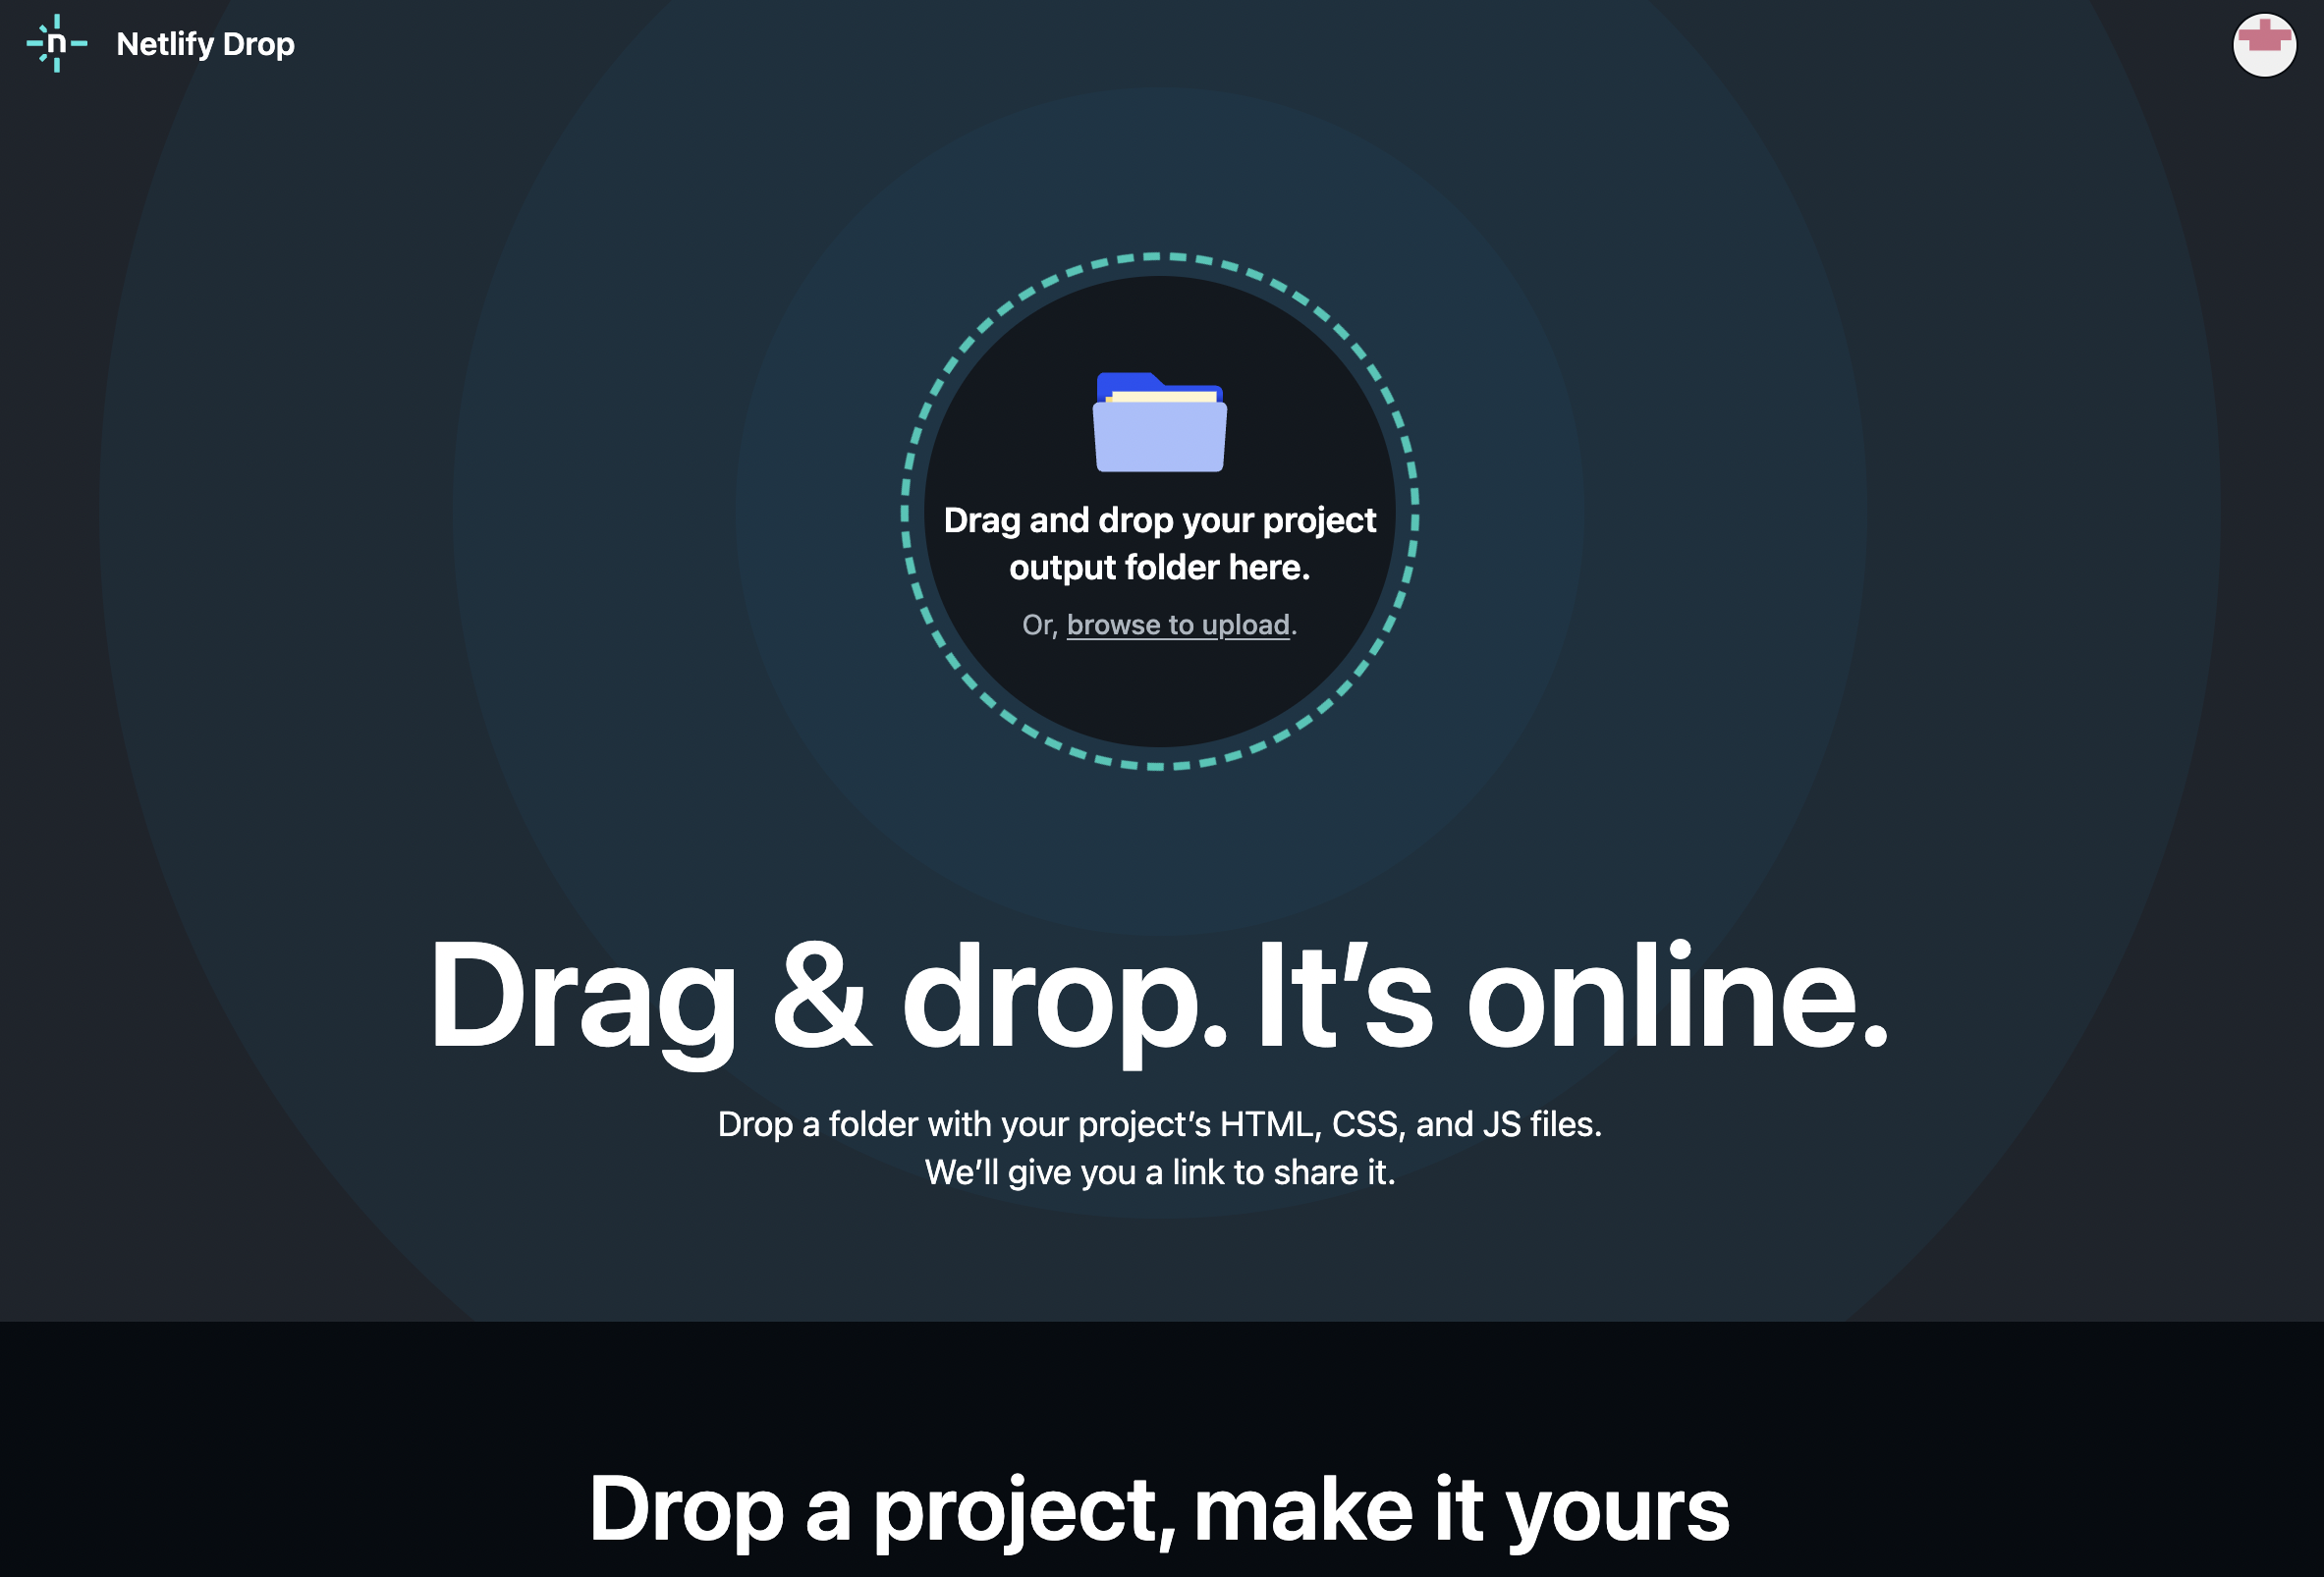
Visit https://app.netlify.com/drop
Step 1: Add Your New Site
- Create a folder containing your files
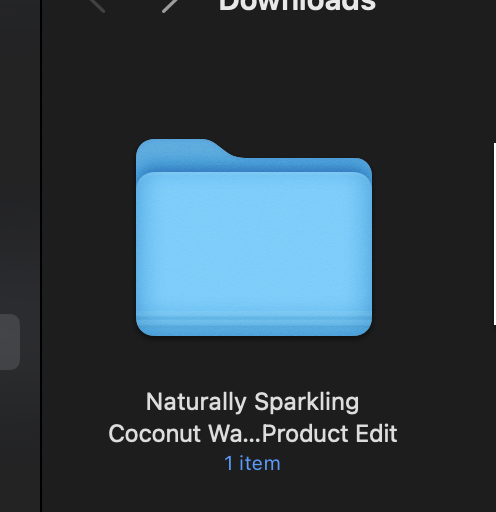
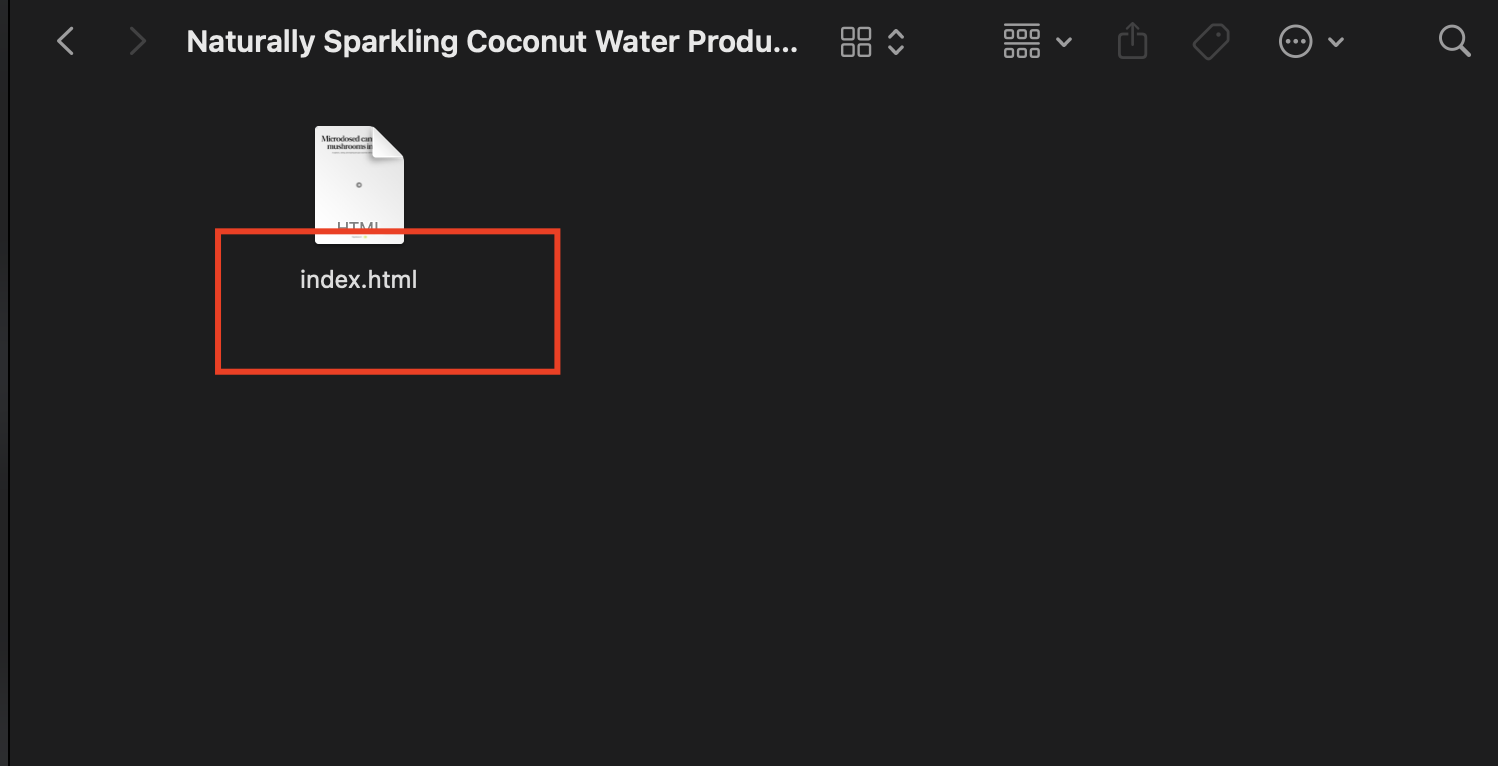
- Rename your main file to index.html
- Drop the folder into Netlify's drop zone
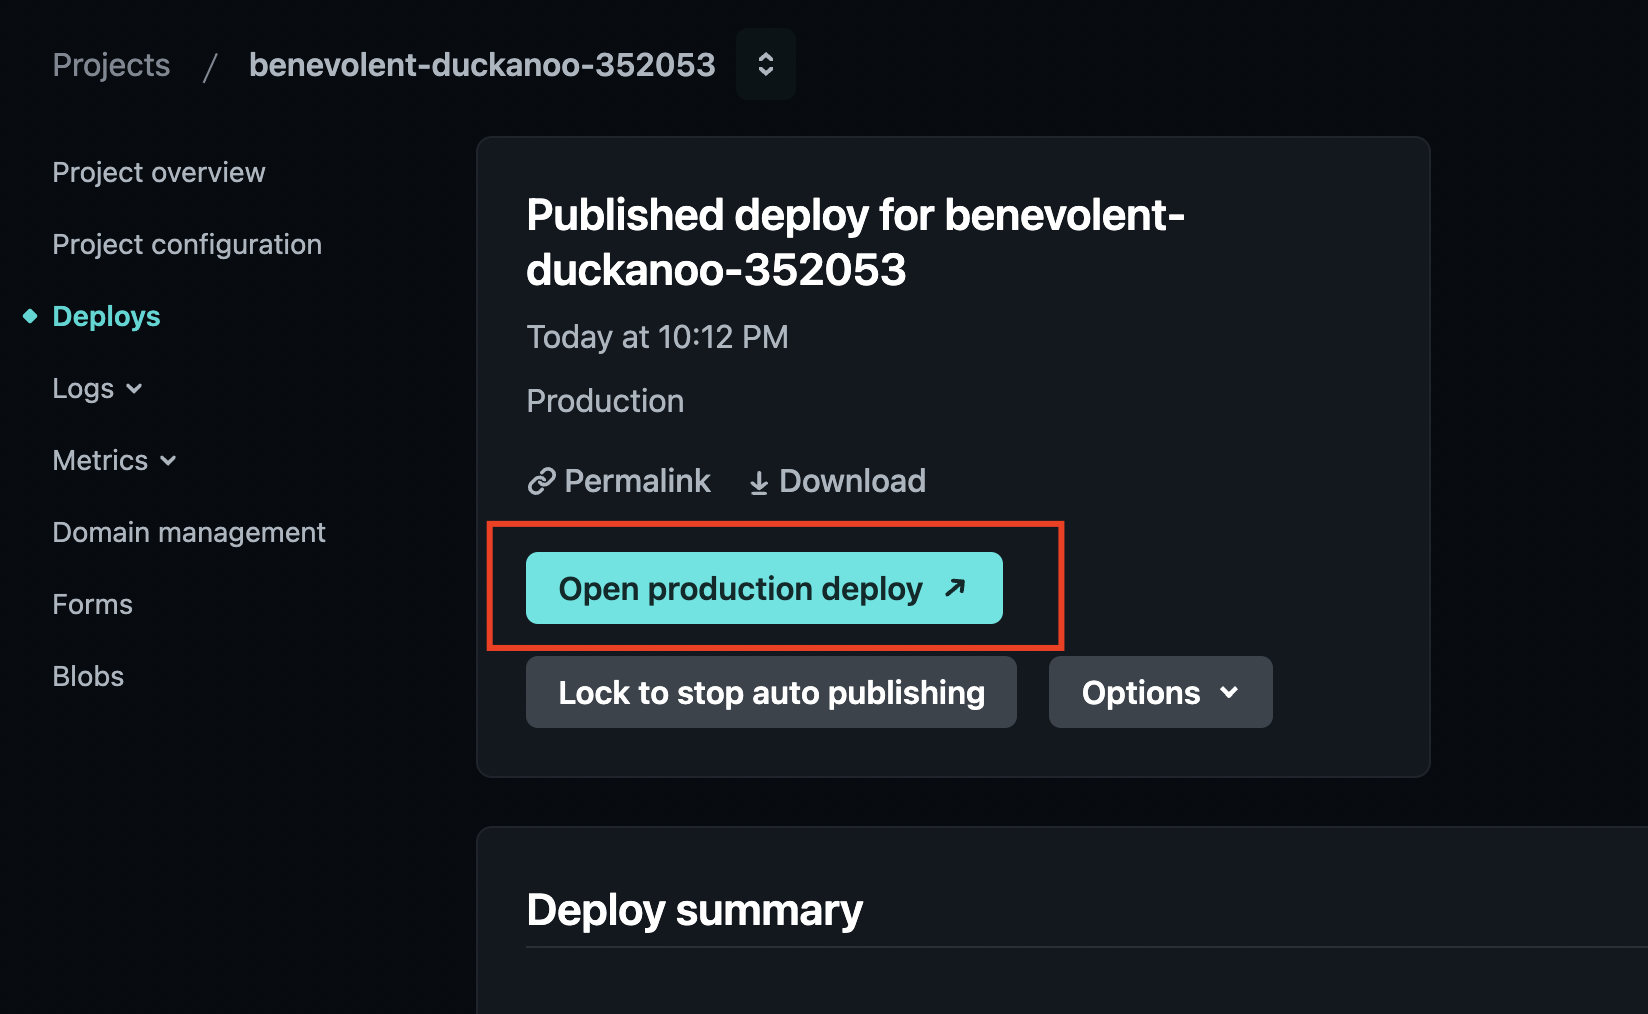
After deployment, Netlify gives your site a temporary name. You can customize this name or set up your own domain for a more professional look.
Adding a Custom Domain
To use your own domain, go to your site's settings in Netlify. Look for "Domain management" to add your domain and adjust DNS settings. Netlify provides step-by-step instructions to connect your domain to their servers.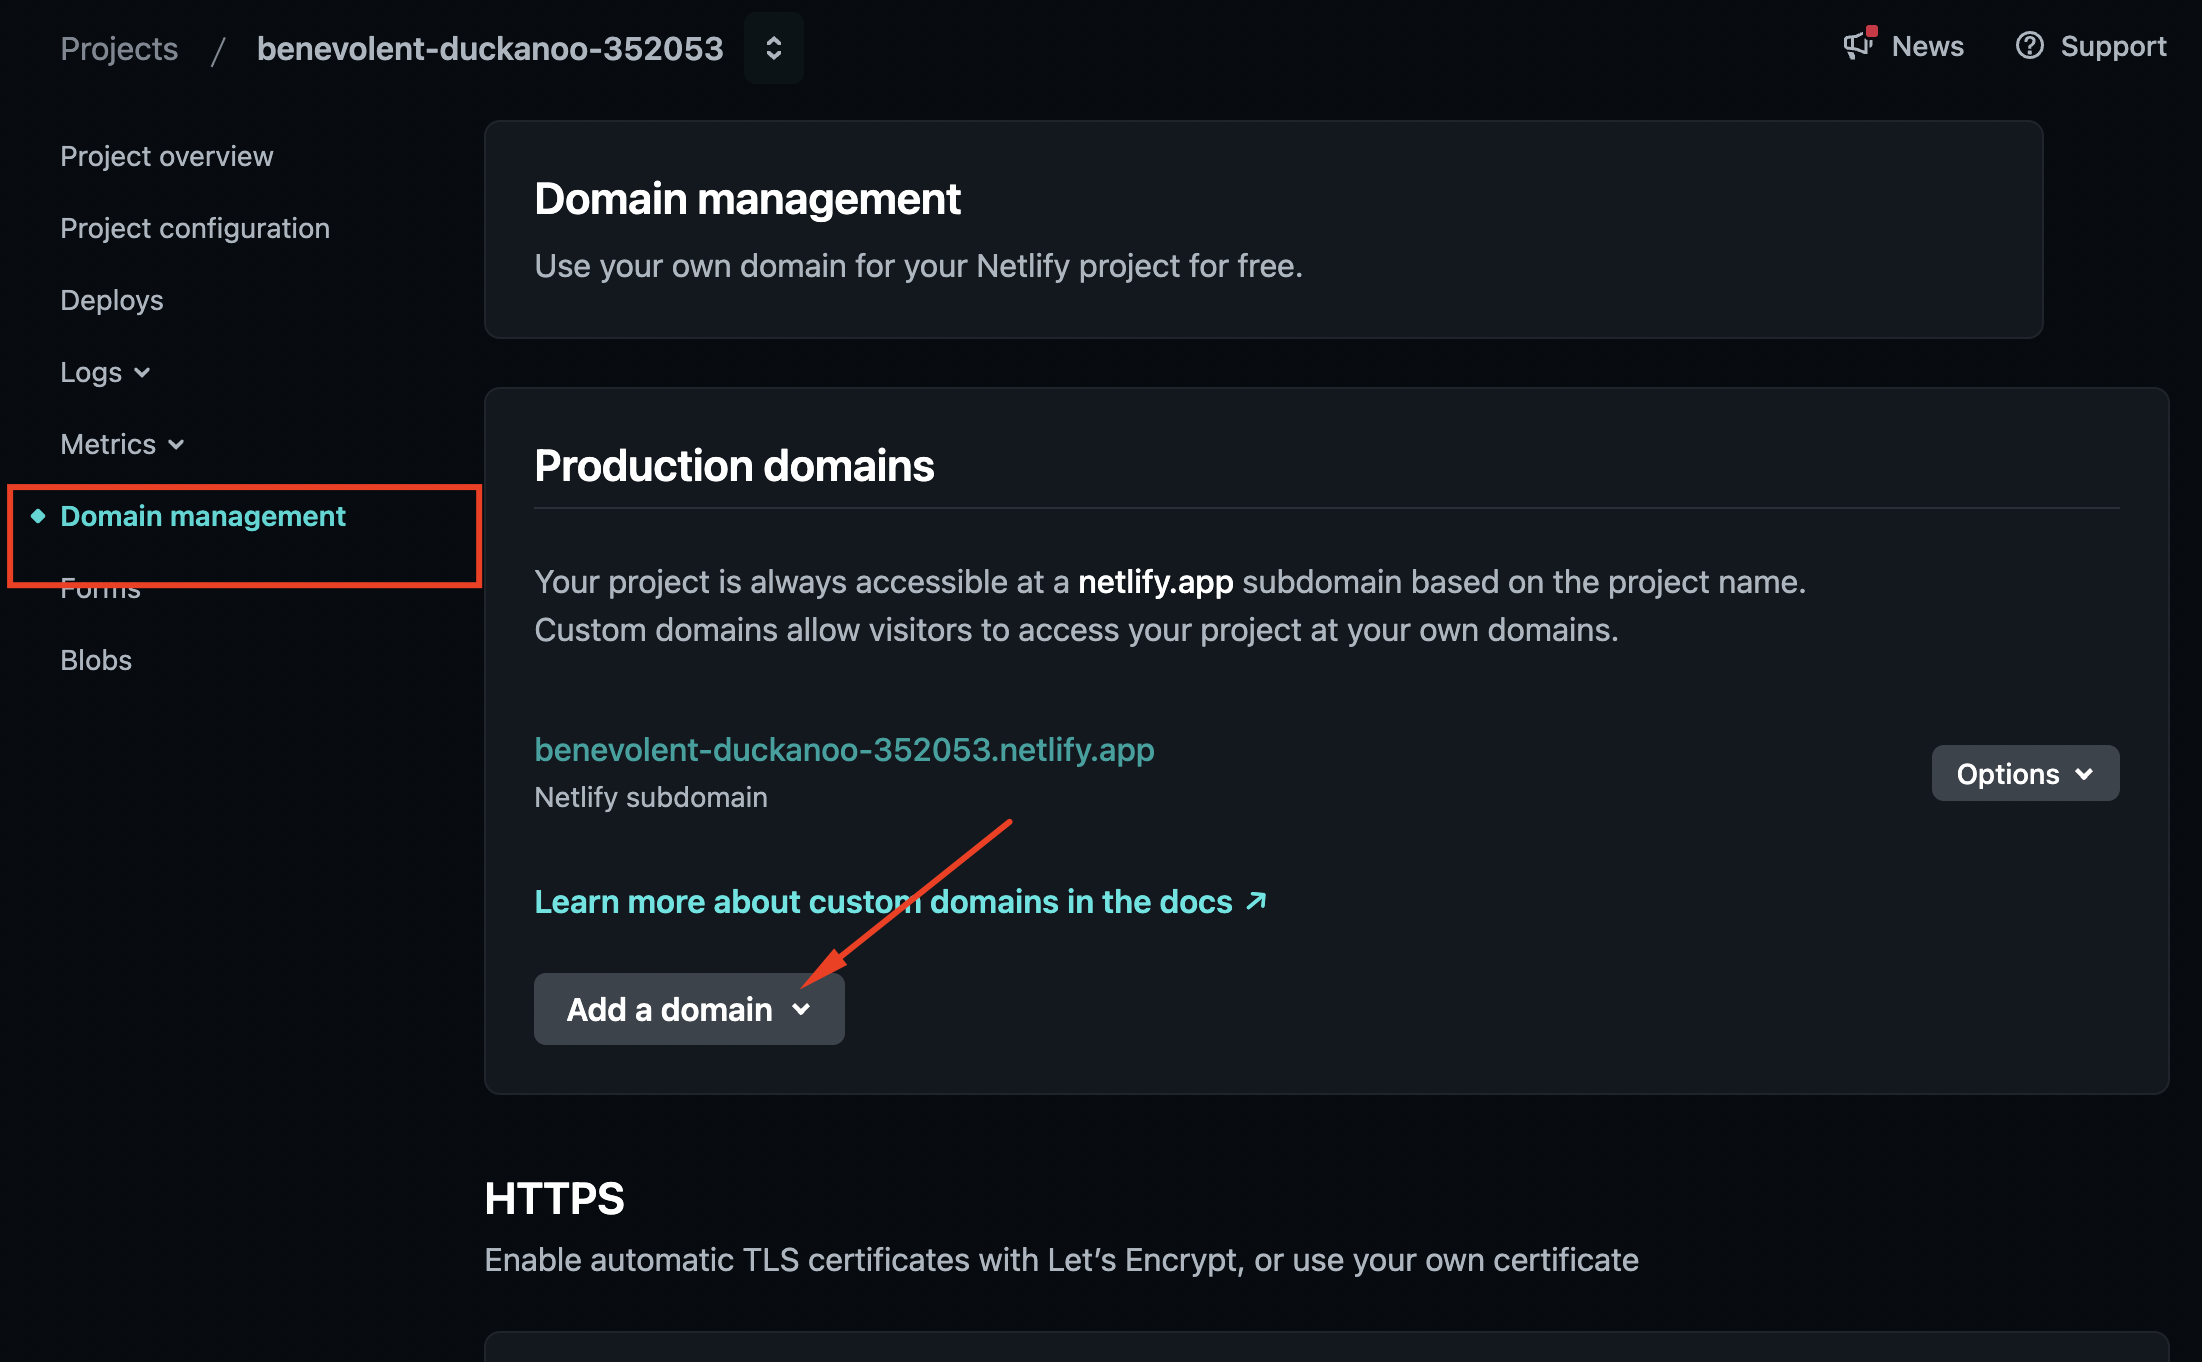
Conclusion
That's it! Your HTML site is now live on Netlify with your custom domain. You'll benefit from fast loading times, strong security, and simple site management. Whether you're new to web hosting or an experienced developer, Netlify makes deployment straightforward and efficient.